Getting started
Starter Files
To get started with the project, download the project starter files from here. It is a React project created using Create React App
Open the project directory from your terminal and install the dependencies by running this command.
Once this is done, you can start the project by running
This runs the app in the development mode.
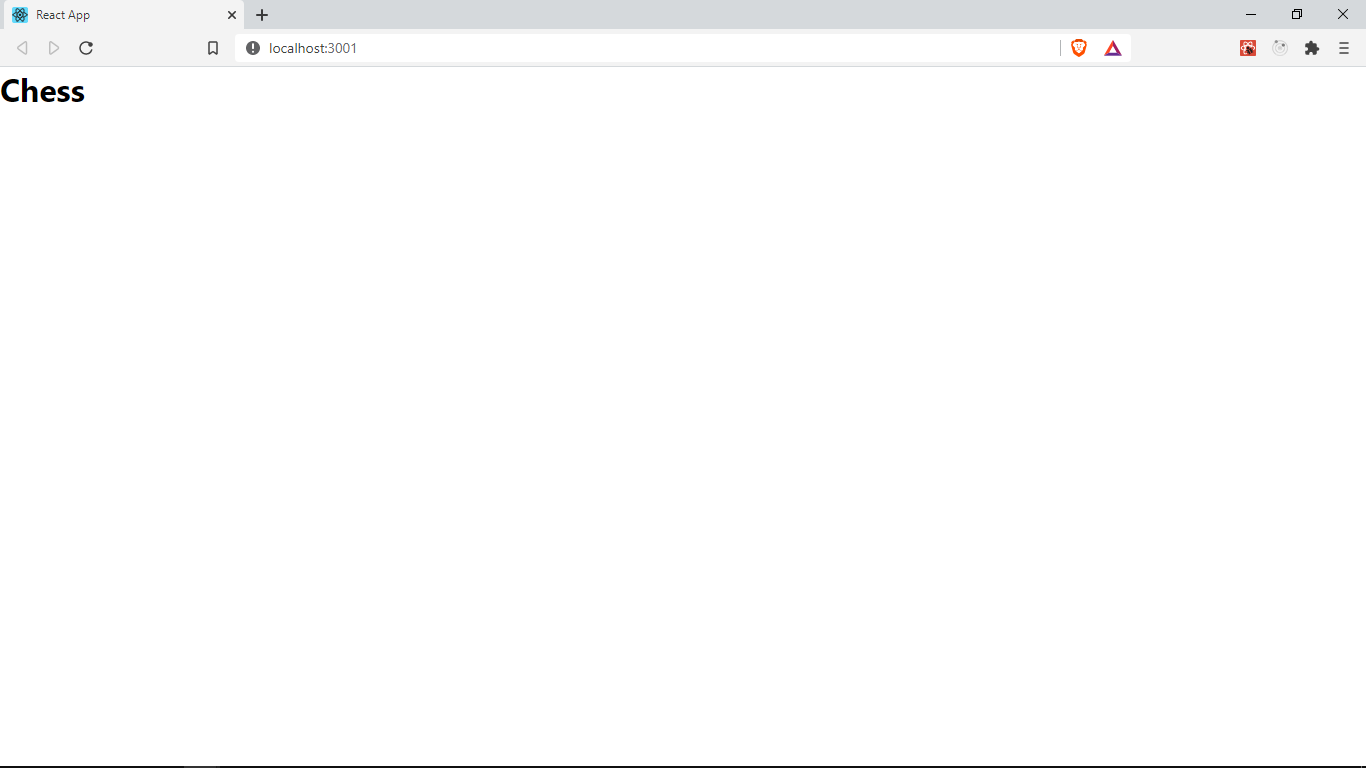
Open http://localhost:3000 to view it in the browser.

Walkthrough
The starter project has 3 files in the src folder, let's go through them
In App.js we create a new React component using the following code
This a React functional component. It is a regular JavaScript function that returns some HTML tags.
This special HTML in JS syntax is known as JSX (JavaScript XML). We have to import React to use JSX.
We are importing App.css to add some base styling.
Notice how we imported the App.css file in App.js as though it were a JavaScript module. This works due to Webpack, a package React uses behind the scenes to bundle dependencies into a single module.
In index.js we render our App component on the browser
We use ReactDOM, a package installed with React. It helps us render React elements to the browser DOM.
We call ReactDOM.render() passing our App component as the first argument and a HTML element returned from document.getElementById('root') as the second. If you inspect the index.html file in public, you will find an empty div <div id="root"/>. This is where ReactDOM renders our App component.
Our component is wrapped in React.StrictMode, this is optional but gives us useful warnings about any possible issues in our components.
Notice how we use our component as <App/>. React components are used like HTML tags, and they must start with an uppercase letter to distinguish them from regular HTML tags.
note
All the assets(images) used in this project are available in src/assets, you don't have to download them again when required in later sections
You can also find this project starter code in this GitHub branch and clone or download it.