So far, players can create games, invite other players and even play online.
In this section, we will be making some final improvements to the Game such as displaying the players' names, showing messages through toasts, and highlighting previous opponent moves.
To get started, we will first add some values to our initial state in src/context/GameContext.js to handle the new features
In our reducer, we need to handle this actions by updating the state accordingly.
Add the following cases to the reducer function in src/GameContext/GameReducer.js.
src/GameContext/GameReducer.js
case types.SET_PLAYER:
return{...state, playerName: action.name};
case types.SET_PLAYER_COLOR:
return{...state, playerColor: action.color};
case types.SET_OPPONENT:
return{...state, opponentName: action.name};
case types.SET_MESSAGE:
return{...state, message: action.message};
case types.CLEAR_MESSAGE:
return{...state, message:''};
case types.SET_OPPONENT_MOVES:
return{...state, opponentMoves: action.moves};
case types.CLEAR_OPPONENT_MOVES:
return{...state, opponentMoves:[]};
Each of this case statements updates the corresponding section in our application state.
Next, in our Game component, we update the useEffect where we listen to socket events. Whenever we receive an event, instead of logging out the data, let's dispatch this actions to update our state
To display the players' names and respective colors, let's create a new component. In
src/components/, create a new folder player and create two new files in that folder, index.jsx for the component and player-styles.css for the styling.
├───board
├───button
├───cell
├───gameover
├───layout
├───piece
├───player -> create this
└───share-buttons
player
├───index.jsx
└───player-styles.css
In the /components/player/index.jsx create the component by adding the following code
This component takes the name and color of a player via props. It displays the name and a white or black king piece to show the player's color.
It also takes in a player prop which will be boolean. It is used to set different classNames between the Player component showing this player and the Player component showing their opponent. className={`player ${player ? 'you' : 'opponent'}`} This will be more clear when we see it in action shortly.
Add the following styles in player-styles.css to style this component.
/src/components/player/player-styles.css
.player{
margin:1.5rem;
padding:0.5rem2rem;
text-align: center;
color:rgb(56,55,55);
border-radius:2.5rem;
position: absolute;
z-index:2;
font-size:1.2rem;
cursor: pointer;
font-family:'Krona One', sans-serif;
display: flex;
align-items: center;
justify-content: center;
color: white;
}
.you{
box-shadow:0020px7pxrgb(255,143,126);
background-color:#e7543d;
top:2.5rem;
left:1.2rem;
}
.opponent{
box-shadow:0020px7px#fafafa;
background-color: gold;
top:2.5rem;
right:1.2rem;
box-shadow:0020px7pxrgb(255,231,97);
}
.king{
width:48px;
height:48px;
}
In the Game component, let's make use of the Player component to display the players in the game. Make the following changes (the rest of the code remains the same).
/src/pages/Game/index.jsx
import'./game-styles.css';
constGame=()=>{
const{
dispatch,
gameOver,
playerName: player,
opponentName,
playerColor,
}=useContext(GameContext);
return(
<div className="game">
<Player name={player} color={playerColor} player />
We pass the player prop to the first <Player/> since this will hold the current player's name and color, it's therefore going to be styled differently.
We also need some styles in game-styles.css to make sure the positioning of the Player components works fine and to also set a background image.
In src/pages/Game create a new file game-styles.css and add these styles.
Game
├───index.jsx
└───game-styles.css -> create this
/src/pages/Game/game-styles.css
.game{
width:100vw;
height:100vh;
background:url(../../assets/background.jpg) center center/cover;
background-color:rgba(0,0,0,0.5);
overflow: hidden;
position: relative;
}
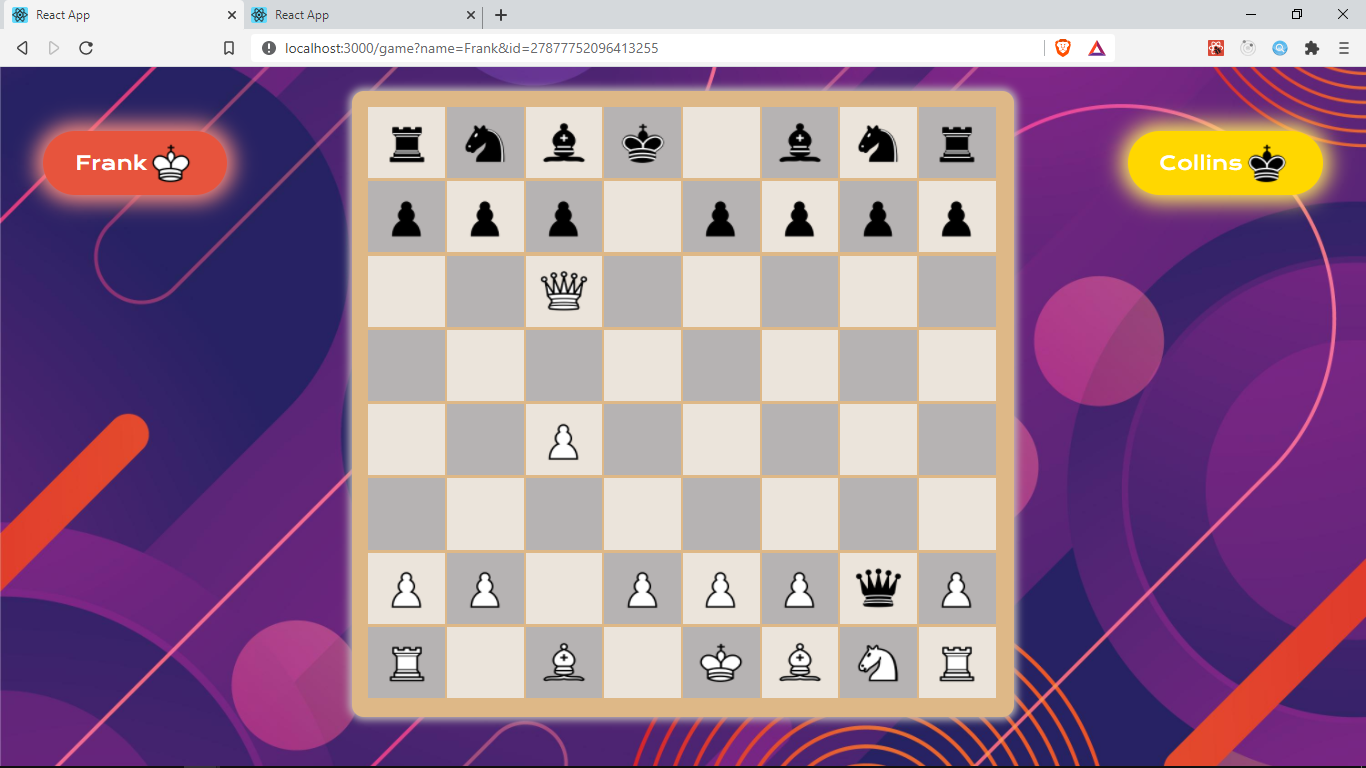
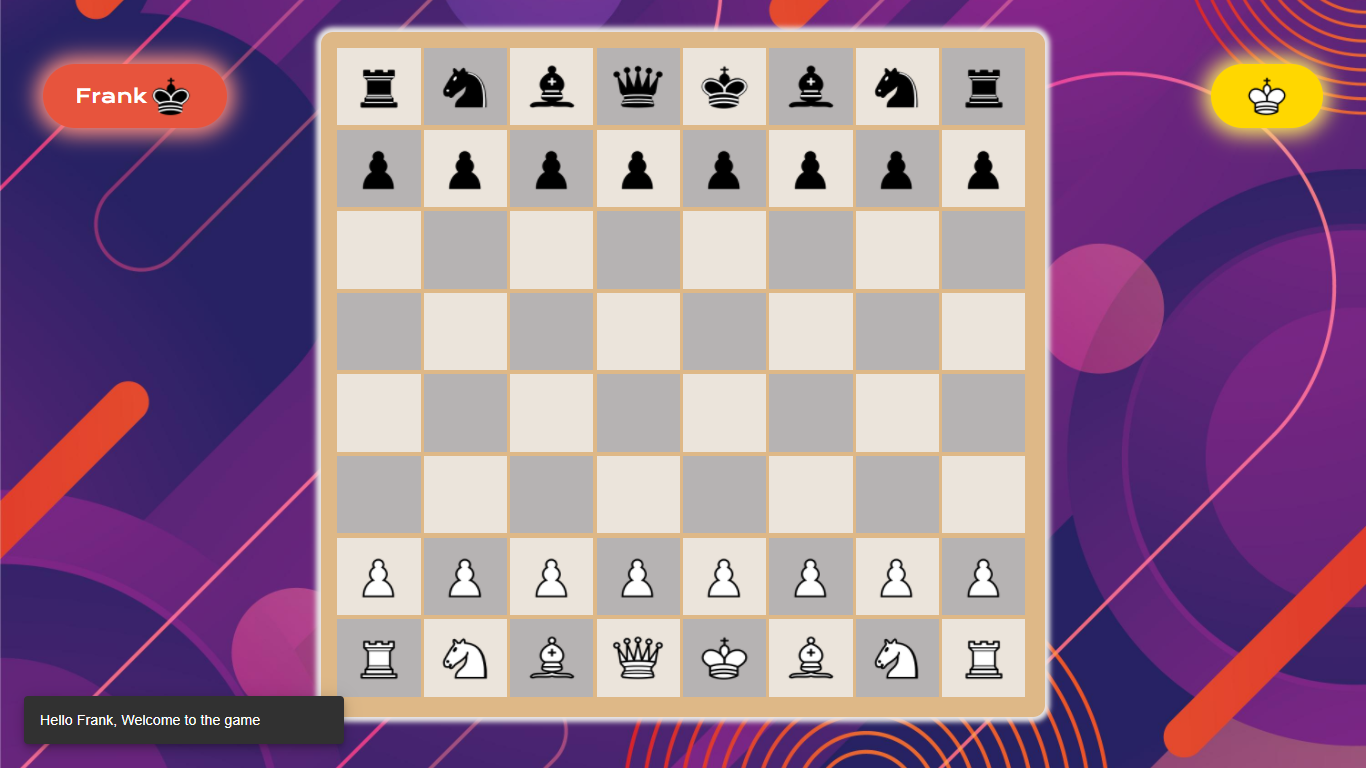
To test this out, add two players in the same Game and here's what we should have
We would like to show some messages to the player on certain events e.g the welcome message we receive from the server when a user joins the game, alert them when their opponent joins the game, alert them when its their turn to make a move and anytime we receive the message event from the webserver.
We will display messages within a Snackbar component. A snackbar is a small non-distractive dialog mostly at the bottom of the screen.
Let's install a snackbar from bit.dev which is a registry for components for both React and other front-end frameworks.
npm i @bit/mui-org.material-ui.snackbar
Let's create a new component to make use of the snackbar. In src/components/ create a new folder snackbar and create a new file in /snackbar save it as index.jsx.
components
├───board
├───button
├───cell
├───gameover
├───layout
├───piece
├───player
├───share-buttons
└───snackbar -> create this
snackbar
└───index.jsx
Let's add the code for our snackbar in /components/snackbar/index.jsx
We create the Toast component that returns the Snackbar. We get the message from our context and pass this as the value of the open prop, so this snackbar only opens when message is not empty.
We also provide the message from context as the value of the message prop which is displayed by this Snackbar.
We set the value for the autoHideDuration to 2500 to automatically close the snackbar after 2500ms by calling onClose which is set to handleClose. handleClose dispatches the CLEAR_MESSAGEto clear the message in state which in turn hides this component.
In the Game component, let's add this Snackbar to display any messages that are set in our state.
When we receive the opponentMove event, we also set a message dispatch(setMessage('Your Turn')) which displays a Snackbar to show a user that its their turn
We have done a lot so far and the project is pretty solid right now.
Here are a few features you can try adding on your own to further improve the game and practise on your React skills.
Highlight the opponent's previous moves in a different color in order to make them visible to the other player to help them in deciding where to play next. You can get these moves from the socket.on('opponentMove') event, update them in the GameContext and use them in the Cell component to determine which cells to highlight, just like we did with highlighting candidate moves in section 8
Show each player's captured pieces at the bottom of the Player component. To help you with this,
use chess.move which we used for making our moves. After making a successful move, it returns an object with various useful properties as shown
The flag property will have a value of c if the move was a capture. It will also contain a captured property with the name of the piece that was captured. You can store this in the GameContext and then create a component that gets the captured pieces from GameContext and displays them.