Drawing the Board
Let's use the createBoard function we wrote in the previous section to create the Chess board component.
First, inside the functions folder (/src/functions), let's create a file index.js and add the folloing code to export all the utility functions from our various files in functions.
This will make importing this utlity function easier as we will only need to reference ./functions
Next, inside our Game component in /src/Pages/Game/index.jsx, let's import and use our createBoard function.
Notice we added another useState hook, and set its initial value to the value returned from calling createBoard(fen), which is our board data. From this useState, we get board which is what we will use in our component and setBoard to update the board.
useEffect
We also imported the useEffect hook. useEffect by default runs once the component is mounted i.e is placed is the DOM for the first time, it also runs on every subsequent component re-renders(component updates) e.g when the state is updated, or when its props values have changed (We will be discussing props soon).
We pass a callback function to useEffect which is exceuted everytime it runs.
Here is an example signature for useEffect
We can provide an array of dependencies as the second argument to useEffect as we did in the Game component. This ensures that useEffect only runs on first mount and when any of the items in the dependencies array changes. We can also provide an empty array of dependencies which ensures that useEffect only runs on first mount.
In our case, we provided an array of dependencies which only contains fen.
The callback in useEffect will therefore run when the value of fen changes. We will be constantly updating the fen as the users moves their pieces, and when the fen changes, we update our board by calling setBoard() and providing the updated value of the fen inside of useEffect callback.
You can read more about useEffect in the React docs. We will be using it very often in this game, and you will get more comfortable with it as the game progress.
useEffect in summary
props
As part of the return statement for this component, we have a component called <Board />. We are providing a special attribute to this component. In React, this is called a prop. It is a property that is provided to a component. Components can receives props, just the same way functions can receive arguments. A value for a prop can be any valid JavaScript data type. In this case, we are providing a prop whose name is cells and it's value is the board which we have in state. We can provide any name to prop as long as it's a valid variable name.
props are one way to share data between react components.
Let's create this board component. Inside of src, let's add a new folder called components.
Here we will store our reusable react components.
Inside src/components, let's add a new folder board and a new file inside board called index.jsx. This is where we will define our component.
In this component, we receive an object holding our props, from which we can destructure the cells, which is the name of the prop we are receiving from Game. It's value is our board object, which is an array of Cells as seen earlier.
Iterating over lists with map
As part of this component's return statement, we have cells.map((cell) => <div>{cell.pos}</div>.
Since since cells is an array, we are calling .map which is a method that transforms one array to another. It iterates over the board array and for each Cell, it creates a div. This creates an array of divs. We use the {} syntax to write expressions in jsx, as in <div>{cell.pos}</div>, to render the position of the cell as the child content in our div. We also wrap the .map expression in braces {}.
Notice we provide a key attribute to the div. Whenever we create elements/components dynamically for example using .map() we need to provide a unique key so that React can manage this multiple elements. Find out more on transforming lists to components in React here
Also notice how the top level div has a className attribute. In React, css class names are passed using the className attribute instead of class. This is because class is a reserved JavaScript keyword.
Finally, let's create a new file in board called board-styles.css to style our component.
We convert the board into a grid container by applying display: grid, next, we create 8 columns of equal size grid-template-columns: repeat(8, 1fr). All our child elements, which is the list of cells are fit into this 8 columns, hence creating a 2-d grid of 8 rows and 8 columns.
Learn more about how CSS Grid works here
We are also using a special CSS function called calc() to set the width and the height of the board. It is used to calculate a value from an expression. It is very useful for calculating dimensions dynamically.
Let's use our Game component inside of App.js
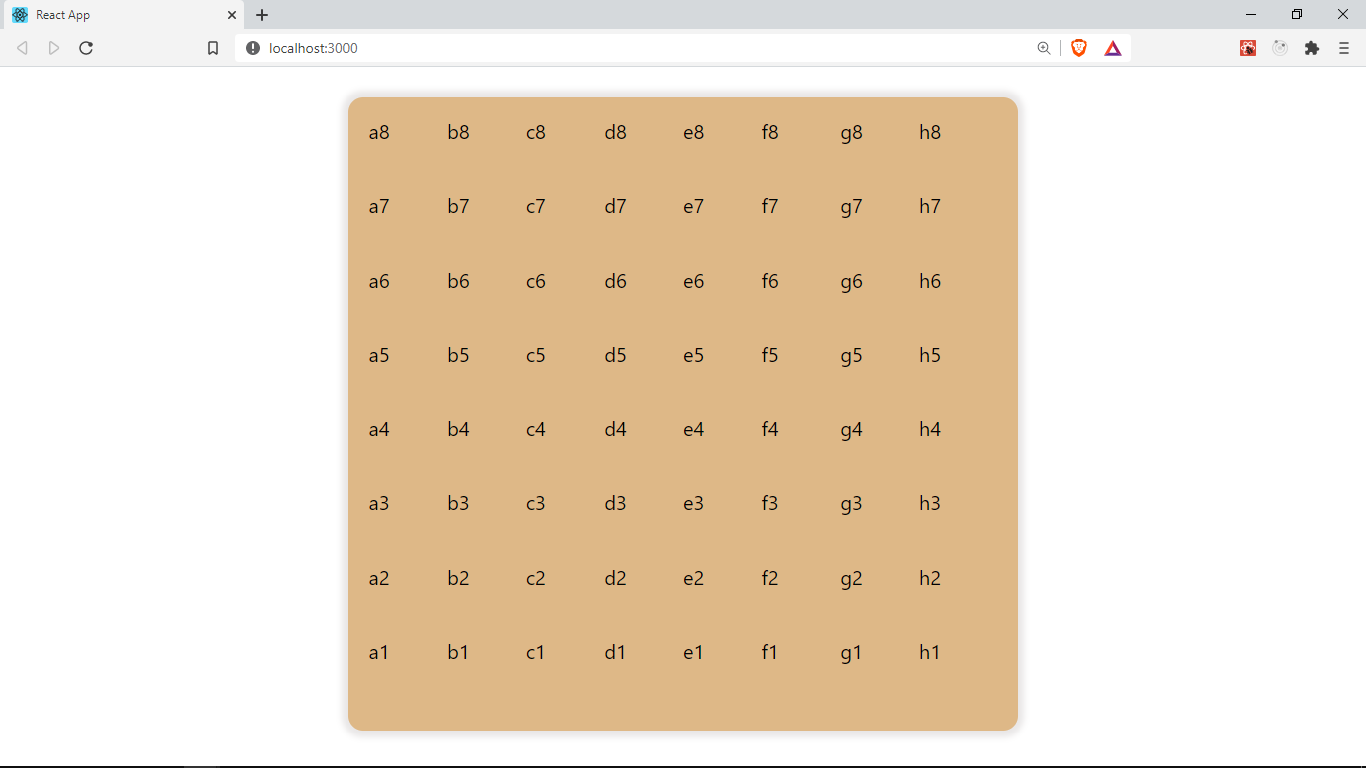
Here is what our app looks like now 🎉😃

You can find the code for this lesson here
In the next section, we will be making the board prettier by adding a Cell component and marking out light and dark cells.