Creating the chess board data
Working with our data
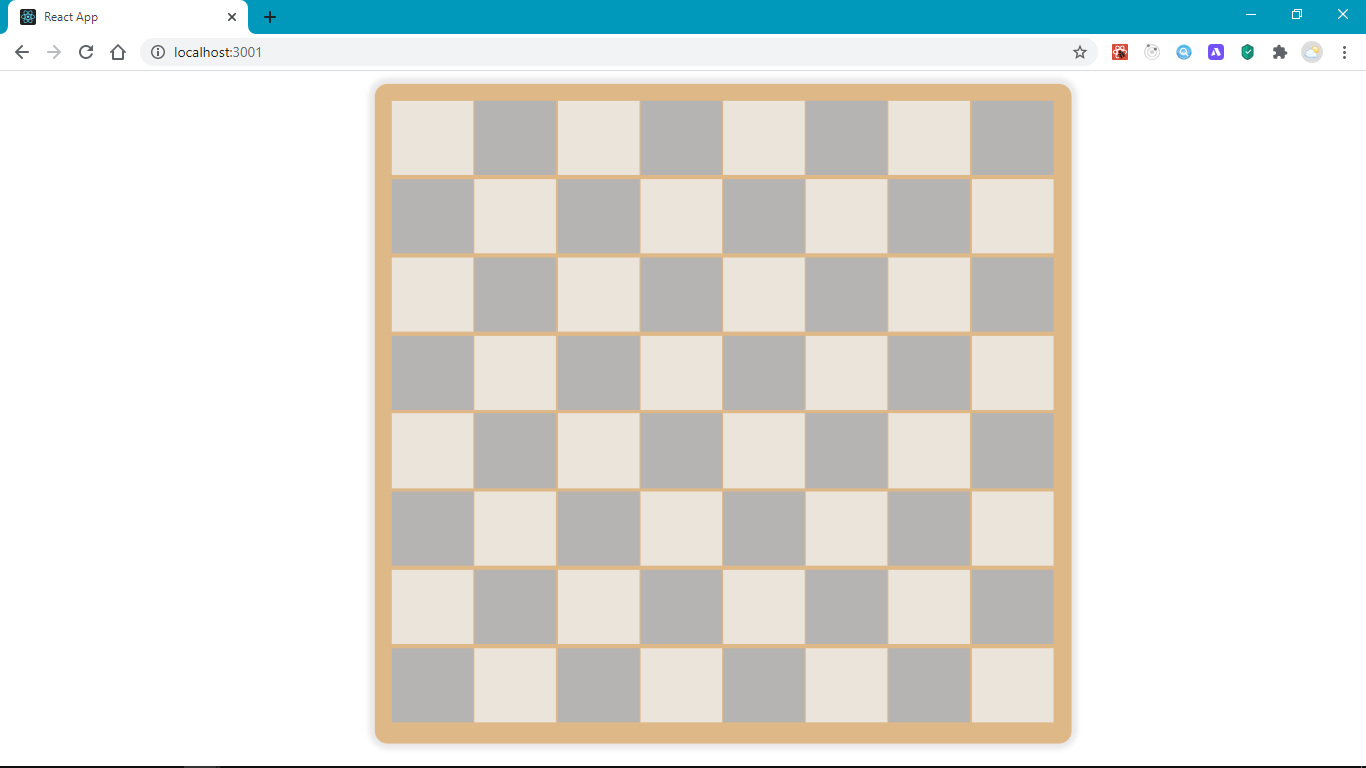
Next we will be creating a chess board.
A chessboard consists of 64 equal squares arranged in eight rows and eight columns.
Here is a sample of what we will have:
In order to get started, let's install chess.js
In your project root directory, run
Create a folder in srccalled pages, our App will consist of several pages. Create a new folder Game and a new file inside Game, name it index.jsx. This will be the entry point to the page. (jsx is a valid file name extension for JavaScript React)
Inside src/pages/Game/index.jsx we will be creating a component that will be main game controller. It will render the board and hold our game's data(state)
Let's create a new component Game by adding the following code.
Getting started with Hooks
First, we import the useState hook. A Hook is a function that allows us to use features from React's API. They typically start with the use prefix. useState helps us create stateful values. These are values that can be updated to re-render our component. useState takes an initial value and returns an array of 2 elements which we can destructure out, the first item is the stateful value, and the second is a function we can use to update this value. We will use this in a while.
We can pass an initial value to useState, which in this case is the FEN variable.
Destructuring is a syntax that allows us to get elements from an array. It can also be applied to an object to get it's properties. Here is a snippet showing how it works
FEN
FEN (Forsyth–Edwards Notation) is a string notation used to describe a particular board position of a chess game. The FEN value we used above rnbqkbnr/pppppppp/8/8/8/8/PPPPPPPP/RNBQKBNR w KQkq - 0 1, describes the starting position of any chess game.
It has 6 fields seperated by a space. For this tutorial, we will only work with the first field. rnbqkbnr/pppppppp/8/8/8/8/PPPPPPPP/RNBQKBNR This field tells us the position of all the pieces in the game at the beginning.
It's okay if you are not familiar with chess, let's break it down: each character in that string represents a piece r -> rook, n -> (k)night, b -> bishop, q -> Queen, k-> King. The uppercase characters represent white pieces, while the lowercase represent black.
You don't need to know how these pieces play in order to follow along, just knowing what the characters represents should be enough.
Next, the / seperates the rows.
The numbers represents that number of empty cells, e.g /8 represents 8 empty cells that make up that row.
useRef hook
Next, we create a new Chess instance, passing to it our fen and then save it inside of the useRef hook. useRef helps us store mutable non-stateful values that persist across render cycles. Let's make that a bit more clear, our components will re-render whenever we update state values in order to reflect this changes in the browser, we can store variables in useRef to prevent their values from being lost whenever the component re-renders. useRef returns an object with a property called current that holds our value. We destructure off that current property and rename it to chess, this will hold our chess object.
Next, let's convert our fen into a data structure that is more expressive and easier to work with, which we can reference as our board. For example, we can have an array of objects where each object contains a property for it's position and the piece it holds.
Creating our board data
To do this, let's create a new folder inside src called functions, This will hold some utility functions for the game. Create a new file in functions create-board.js.
We need to write a function that takes in a FEN string and returns a board. The boad will be an array of Cells. Each cell will be an object with a position property (where it is on the board) and a piece property (the piece it holds).
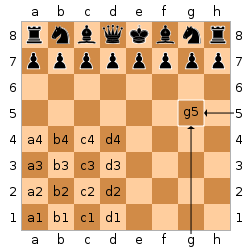
The position of a cell(square) in a chess board is identified using a standard algebraic notation, which is derived from its column and row.
The board has 8 columns labelled from a-h and 8 rows labelled from 1-8. For example, a cell located in the fifth column second row has a position of e2
Let's create the function in steps to add the board generation logic.
We start off by defining a Cell Class and the createBoard function. This function takes in a FEN string and returns an array of Cells, which will be the board.
A Cell object will have a position, e.g a1 and the piece it holds, e.g K for white King.
Above the createBoard function, we have a helper function range. It takes an integer, n and returns an array of items between 1-n. It will be useful in creating the board.
Inside createBoard, we use fenString.split(' ')[0] to get the first portion of the string, which is what we need. Next we apply fen.split('/').join('') to convert the FEN into one long continuous string rnbqkbnrpppppppp8888PPPPPPPPRNBQKBNR
After getting our continous FEN, we change it into an array in order to parse it further. Remember, the FEN gives us the piece in each position. However, it is highly summarized. For example, an empty row of 8 cells is abbreviated as 8, similarly, any empty empty adjacent cells are represented by a number n where n is the number of the empty cells. So to make it easier to work with, let's parse the FEN such that any empty cell is represented by an empty string. This way, we will get a total of 64 pieces for each of the 64 cells. That's what the code section above is doing.
We are looping through the fenPieces and replacing each number n we find with an array of n empty strings by making use of the range() function we had defined earlier.
Finally, we appy .flat() to extract items from the nested array we introduced.
Eventually, we have an array with 64 items where each item is a string that represents a chess piece e.g K or an empty string if that particular cell is empty.
Read more about this array methods we have used Array.from, forEach, flat, splice, fill
Next, we create an array of cells from the rows and columns. This does not contain final the Cell objects, it only holds the positions for the cells, i.e a1-h8, but it will help us create the final Cell objects. We reverse the rows to loop from 8 to 1. This helps us generate the cells in the order they would visually appear in the browser i.e a8 - h8 at the top of the board and a1-h1 at the bottom of the board.
Finally, we loop through the cells and pieces arrays. In each iteration we create a new Cell object with a position i.e cell[i] and piece pieces[i]; and add it to the board array.
Open the browser developer tools using Ctrl + Shift + i and try running each of the code snippets provided above to see what they output.
Eventually, this function returns the board array.
Next, we will use this board data to create a component that will display the items in our board array.
You can find the completed code for this lesson here
tip
Copy entire source code for create-board.js from the next section.