Drag and Drop
Approach
Here is a brief overview of the approach and steps we will take to implement dragging and dropping pieces to make moves:
We first need to store the original position/cell of a piece before it was dragged.
Next, we store the cell on which a piece is dropped. The chess.js library offers the
chess.move()method we can use to move pieces.Once we move a piece using
chess.move(), we then callchess.fen()to get the newly updated FEN (board position) after the move.We finally update our
fenwhich is in theGamecomponent state with the new FEN value. This will automatically update the board and pieces to show the changes/moves.
ref objects
In the Game component inside src/pages/Game/index.jsx, let's create a new ref object using theuseRef hook called fromPos. This will store the original position of a cell before it was dragged. We use a ref since useRef values are not reset/lost incase the component re-renders. It's good for holding persisting values in a component.
Making the move
We also defined a makeMove function that takes in the cell we want to move to as it's parameter. We get the original position of the piece from by accessing the current property from our ref object. We then call the chess.move({ from, to }) method providing the from and to properties needed to make a move.
setFen() is the function returned from useState which can be used to update the fen value. chess.fen() returns the updated fen value after making this move. We update our fen value in state with the latest fen from our chess object by calling
setFen(chess.fen()). This will cause our component to be re-rendered/updated.
Notice how we make use of useEffect to call setBoard which updates our board state whenever the fen changes.
info
We cannot update a state value by direct reassignement or mutation, e.g fen = chess.fen() or board=createBoard(fen) this would not work.
We have to use the state updater function whenever we need to update any state values. Like setBoard or setFen, and pass the new value for the state to that function.
We also have a second function setFromPos that takes in the original position of a piece before it's dragged and stores it in our ref object.
We pass down this this two functions as props to the Board component since they need to be shared with the Cell and Piece components where we will handling the drag and drop events.
We need to receive this props in the Board component and pass them to Cell and also update our proptypes
We can use the JavaScript rest operator to save all other props inside a props variable.
{ cells, ...props }. We also use the spread operator to pass this props to the Cell component without having to access them directly.
onDrop and onDragOver
In the Cell component, we need to receive this props and make use of them
In Cell we specify an onDrop handler function called handleDrop. This is how we attach event handlers to DOM events in React.
The handleDrop function calls makeMove which is received as a prop and passes this cell's position to it. This function is the one responsible for making the moves.
We also provide an inline function to the onDragOver event. This is necessary to allow our Cell components to be dragged over
Finally we pass the setFromPos function as a prop to the Piece component.
onDragStart and onDragEnd
In the Piece component make the following changes
First, we add a ref attribute to the img and provide the element as the ref, which we created from useRef. const element = useRef(). This helps use access this img through element.current. This is another use case of the useRef hook, it can help us access DOM elements.
Next, we provide the handleDragStart function to handle the onDragStart event. In the handleDragStart function, we call the setFromPos function which receive as a prop and pass to it the our current cell position, which is eventually received in the Game component. We also use a setTimeout function to hide this element to prevent it from appearing in its original position while it's being dragged.
Finally, we provide an onDragEnd handler function that makes this element visible once it's dropped.
Have you noticed the pattern here? We are using functions we receive as props to pass data to our Game component where the move is actually taking place. We are passing some data to the parent components through function parameters. You can generally pass data to higher level components through function parameters like we did here. (Data flow in React still remains unidirectional)
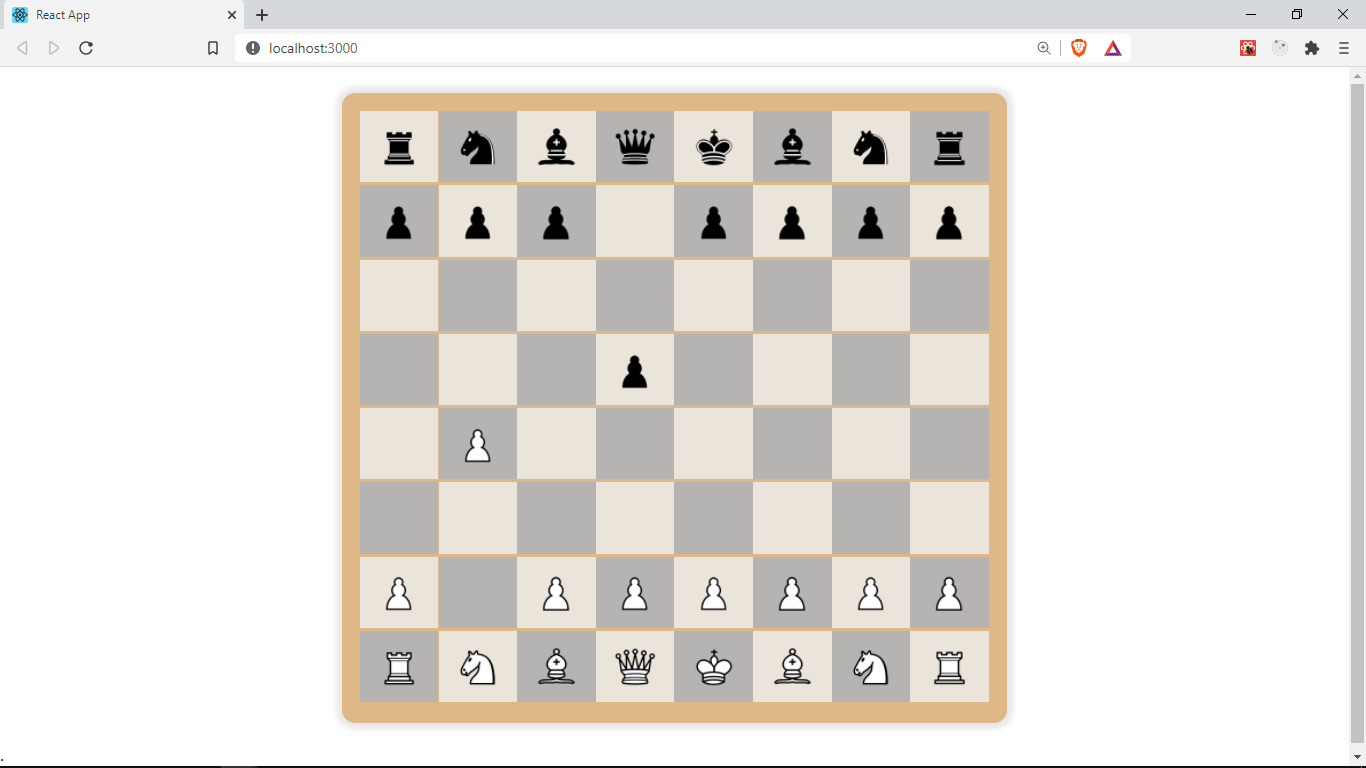
Finally this is what our game looks like.

White is usually the first to make a move, so drag any white pawn one or two squares forward to make a valid move, then try the same for black.
Chess.js already handles the validation for the moves so any invalid chess move will not work and the piece retains its original place.
In the next section, we will be improving the user experience of our game by highlighting a user's possible moves.
Find the source code for this lesson here